


The bathroom, the smallest and busiest room in any house, quickly becomes the dirtiest. But the thought of scrubbing down this germ-filled zone can seem overwhelming — I know I’d rather do 8 loads of washing, vacuum the house, do the bills and taxes, mow the lawn and wash the car than having to experience a close encounter with the toilet bowl.
In an attempt to deal with my bathroom cleaning phobia, I’ve incorporated a quick-clean baby-steps routine to tackle the bathroom in tiny bits — each day.
This regimen has significantly reduced the need for the dreaded “deep clean” by helping me avoid the usual build of grime and germs — and piles of hair on the bathroom floor (how anyone in the household still has hair left on their head is a mystery to me, when you consider the amount of hair that is on the floor).
Here’s my quick-clean baby steps bathroom routine:
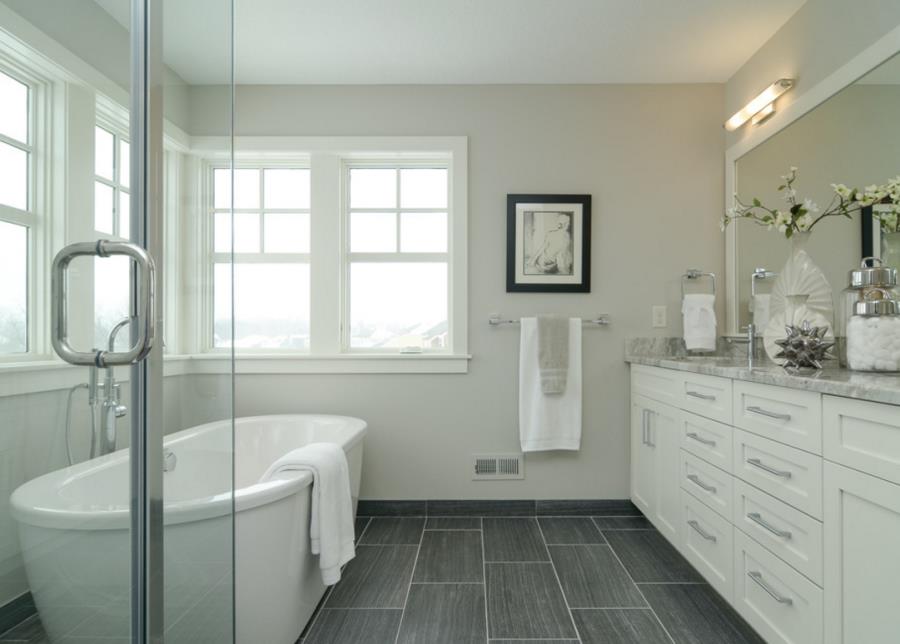
1. Clear All The Counters
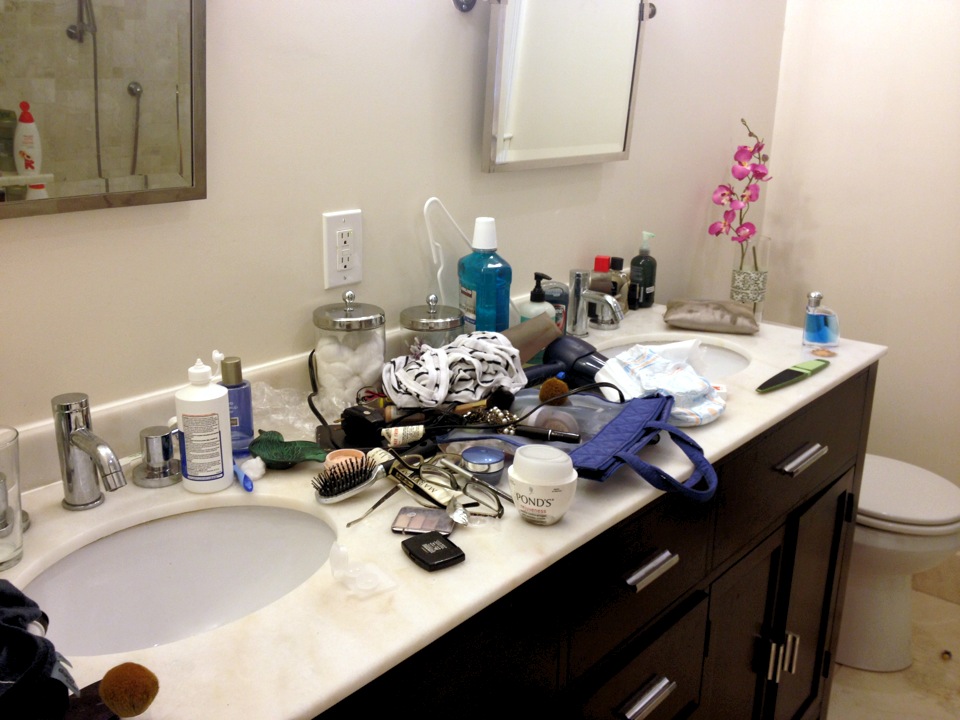
While I certainly like the idea of a neat bathroom counter, I plead guilty to routinely leaving makeup, moisturizers, toothbrushes and hairbrushes next to the sink after using them, thinking, “No point in putting it away. I’m just going to use it all again tomorrow.”(Image via makinghousebeautiful.com)
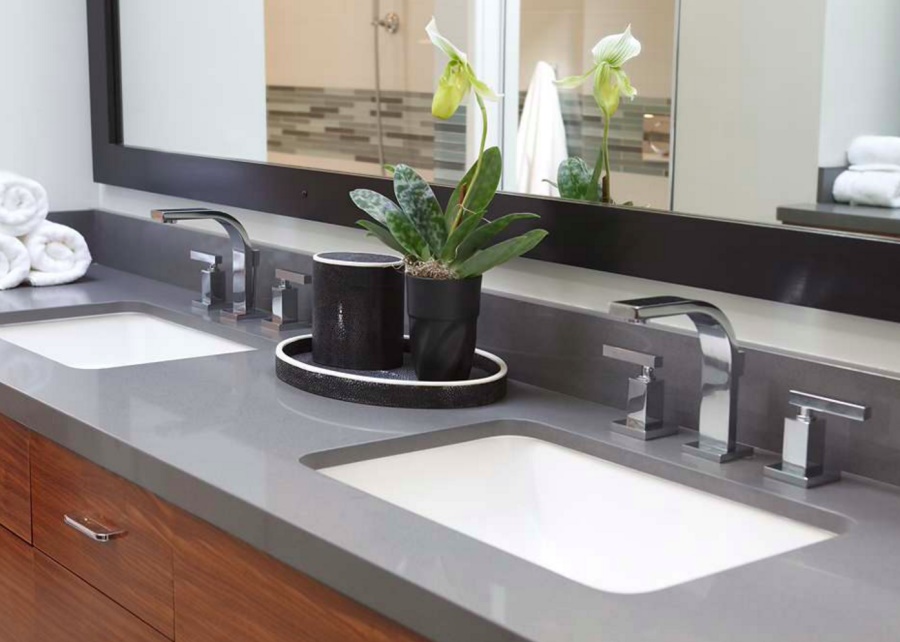
To avoid counter clutter, optimize bathroom storage space with containers and organizers for all your bathroom items and beauty products. Create a fool-proof system so that you immediately know where each item belongs (the Container Store and IKEA are good places to look for storage products and inspiration).
When everything has a dedicated, compartmentalized space, you’ll only need 1-2 minutes to put everything in its place post morning routine…and you won’t spend frantic pre-work time looking for small items like nail-clippers and tweezers. (Image via Decoist)
2. Wipe it Down with Windex – or Vinegar
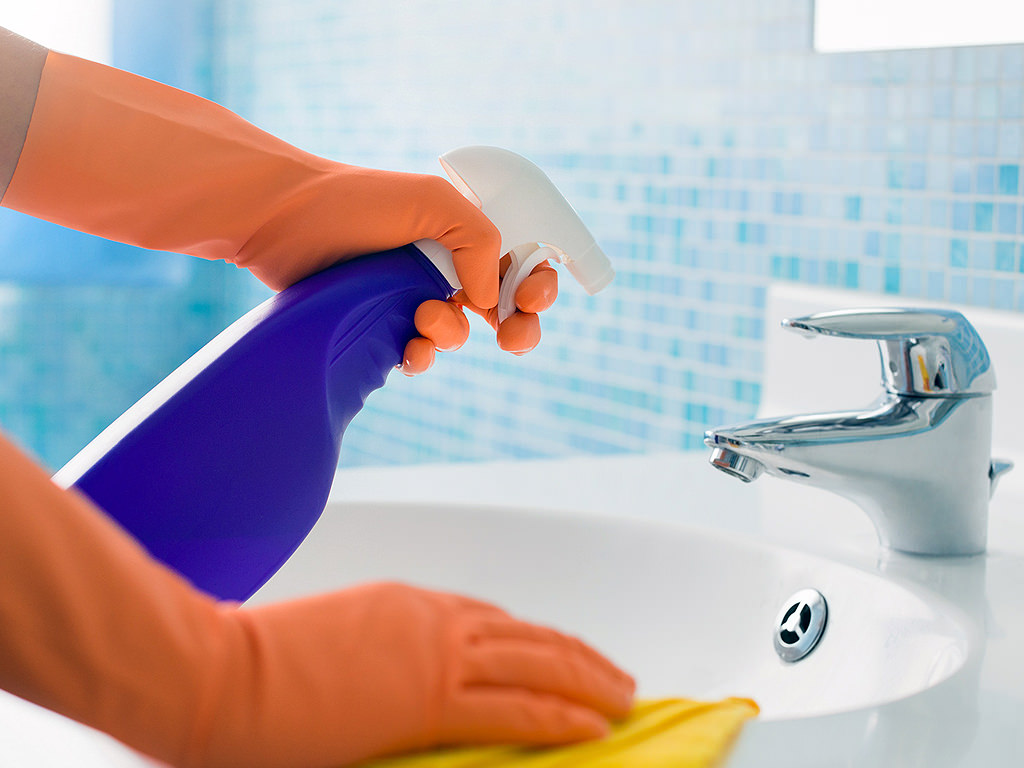
If you’ve seen My Big Fat Greek Wedding, you’re no doubt familiar with some of the infinite uses for Windex. While I wouldn’t go as far as spraying it on a zit, this blue liquid can work wonders as a multi-purpose cleaning product. (Image via BathroomNews.com)
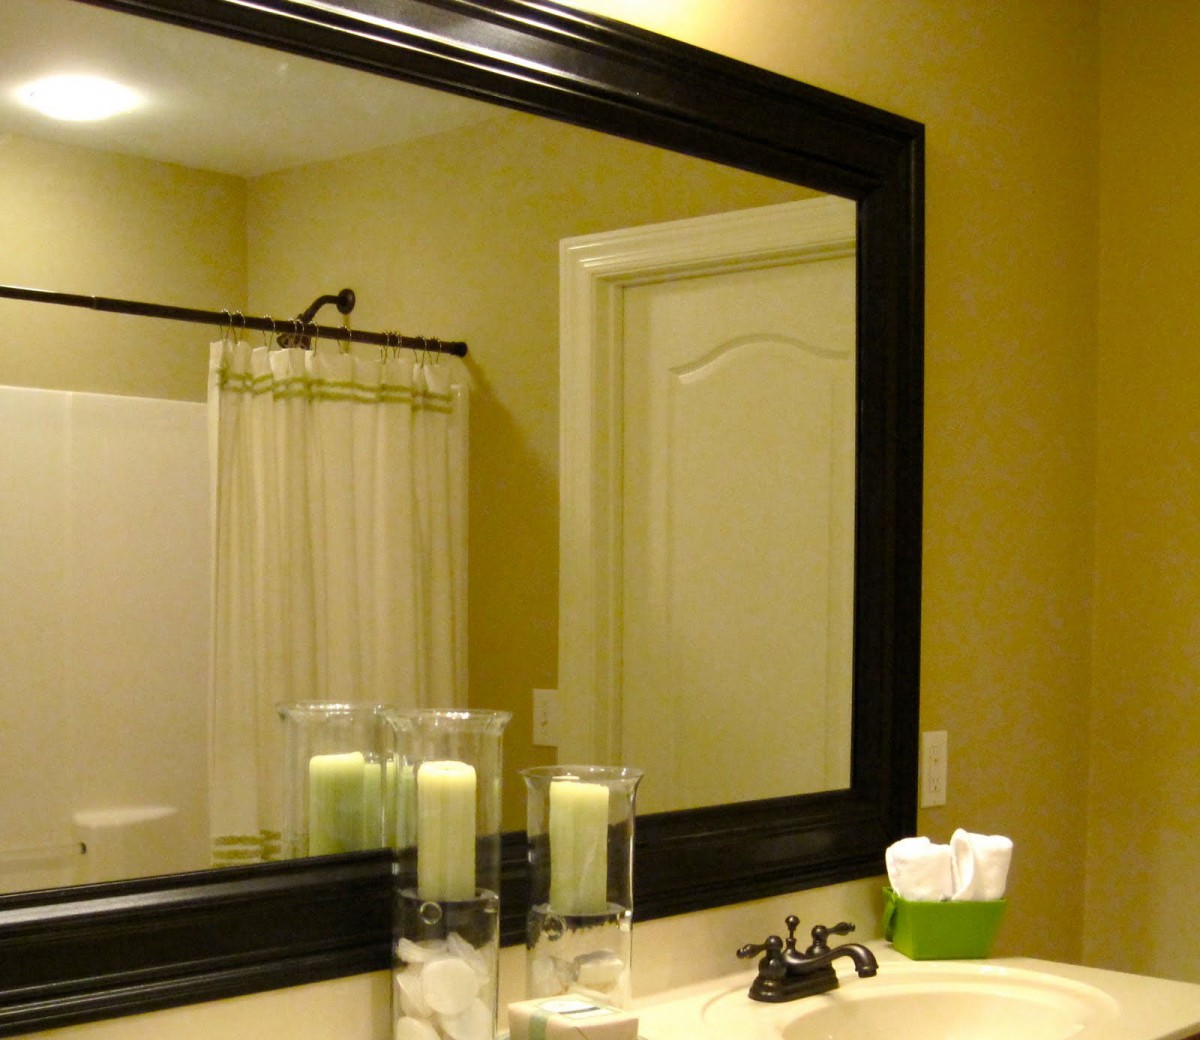
One bottle of glass cleaner under the sink together with a small shower squeegee, a toothbrush and a cloth facilitates a daily wipe down of mirrors, cabinet fronts, tile and counters. The shower squeegee controls mirror streak and removes excess water from the counter; the toothbrush is a useful tool to keep the area around the faucet clean and mold-free.
For a natural and eco-friendly alternative to glass cleaner, prepare a 50/50 vinegar/water solution in a spray bottle. (Image via realpropertyalpha.com)
3. Dust Daily — and Don’t Forget the Fan
Although it is a myth that dust is mostly made up of dead skin (thank goodness), the ubiquitous substance nevertheless consists of some pretty icky stuff: animal dander, insect waste, and — of course — lots of good-old fashioned dirt. Keeping the counters clutter clear facilitates a quick daily wipe, preventing dust buildup.
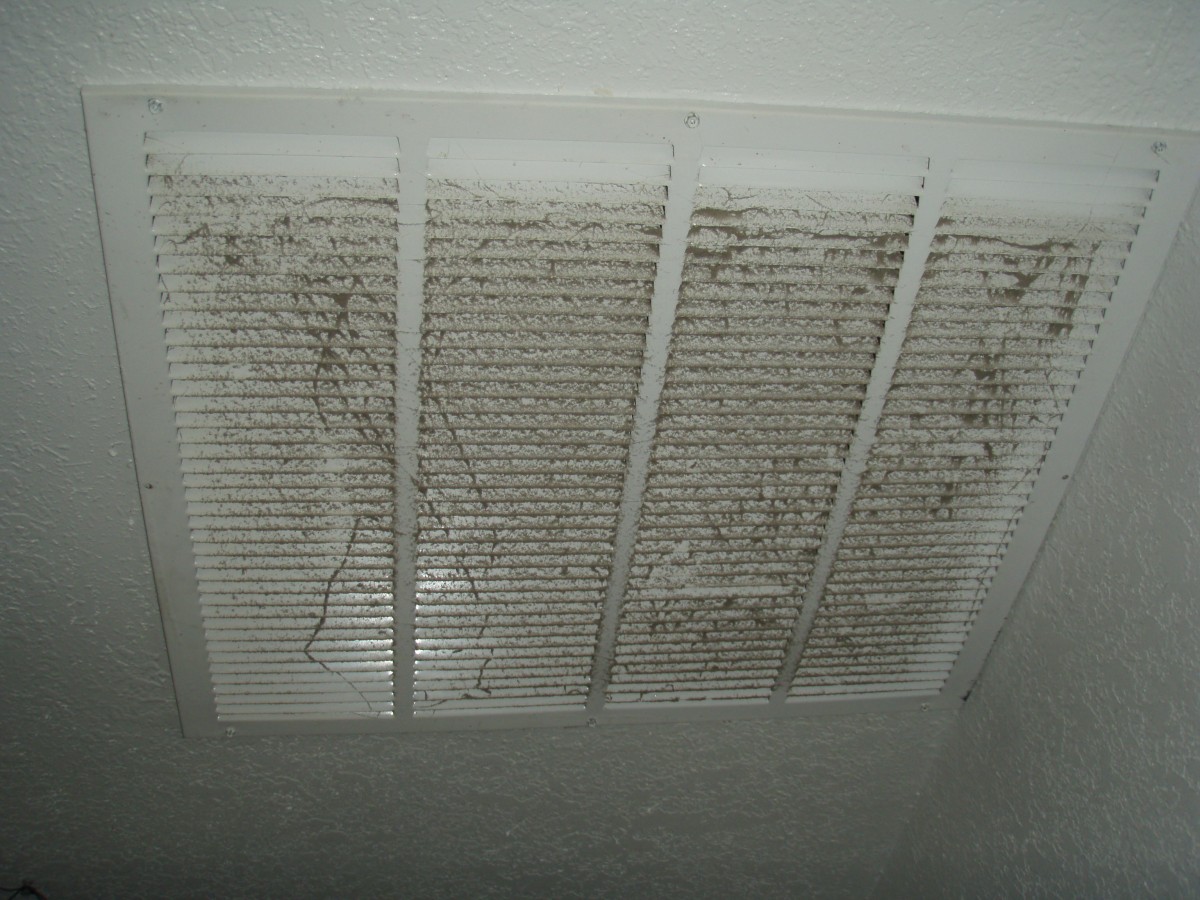
Dust also tends to quickly accumulate in ventilation fans. With time, fans become far less effective as they gradually become caked with dirt and dust in the damp bathroom environment. Having a clean and functional bathroom exhaust fan helps to dissipate bathroom odors and prevents mold and mildew — a definite health issue, if left unaddressed.
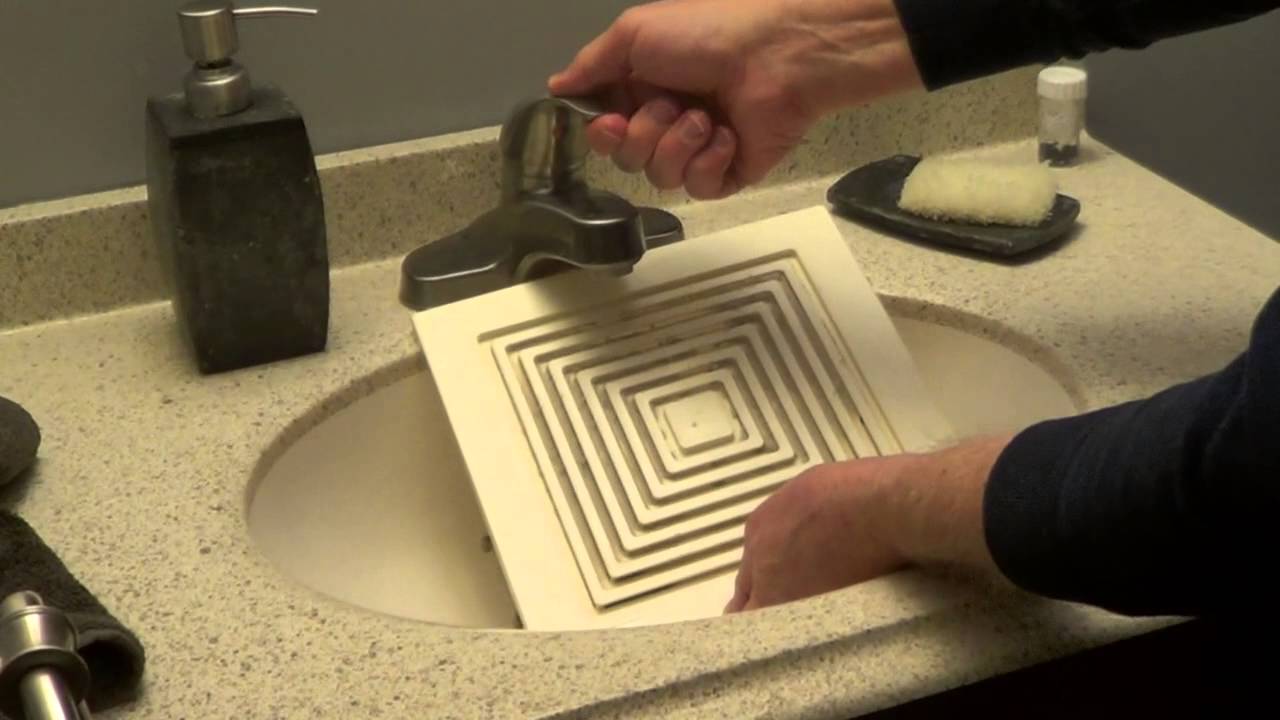
If your fan is clogged, give it a deep clean: 1. Flip the circuit breaker, 2. Remove the fan cover (older fans are usually held in place by metal pins on each side, squeeze them together to get the fan cover to come off completely), 3. For a very dirty fan, remove the motor and clean with a stiff paint brush and damp cloth (take a picture before removing the motor, that way you can remember how to re-assemble), 4. If your fan is only moderately dirty, remove dust from the motor and other nooks and crannies with a stiff clean paintbrush and damp cloth. Suck up the debris with a vacuum. 5. When the fan is completely dry, re-assemble.
Once cleaned properly, keep the fan dust-free by giving it a regular brush with a feather duster or stiff paint brush, or by using the vacuum nozzle (make sure the power is not on when doing this). (Image via YouTube)
4. Take Care of The Toilet — and Keep that Lid Closed
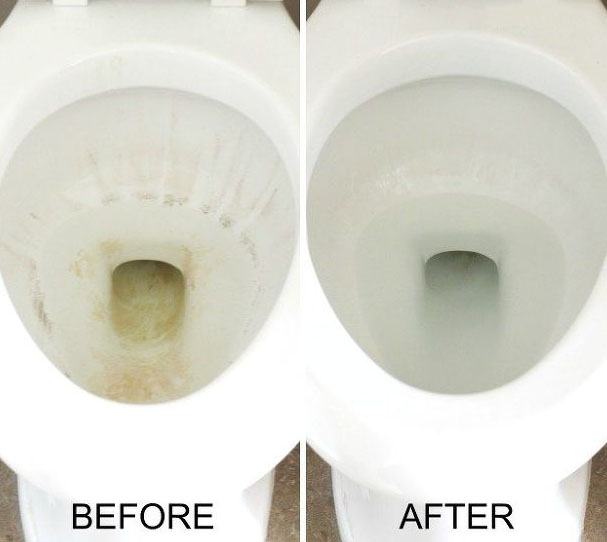
If someone invented a self-cleaning toilet, I’d be first in line to buy it. If that same toilet came with a self-closing lid, I’d be ready to spend a significant amount for the amenity. Many women agonize over their partners leaving the toilet seat up, but consider this: every time you flush the toilet with the lid open, polluted water vapor erupts out of the toilet bowl into the bathroom air. It can take several hours for particles to settle — when the air born particulates finally do settle, they descend on your towels and bathroom counters. If you keep your toothbrush close to the toilet, you may be brushing your teeth with what used to be in your toilet.
So…the first step to a germ-fee bathroom: Close the Toilet Lid! (Image via hometalk.com)
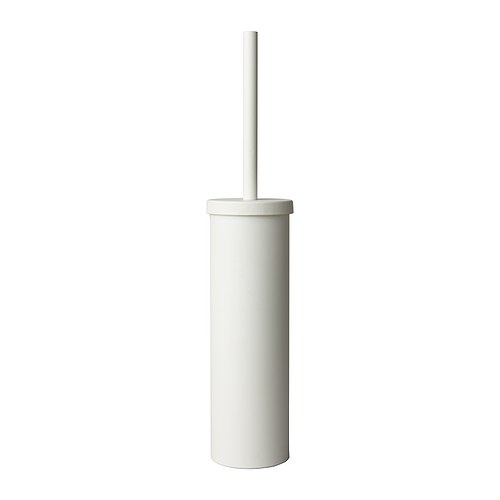
That bit of business taken care of, let’s get down to cleaning. Keep a toilet brush next to the toilet (IKEA carries a toilet brush concealed in a container) and use it regularly. Keep a package of biodegradable wipes behind the toilet. These will make it easy to wipe down and clean around the toilet on a daily basis — no worries about germs building up on the cleaning cloth.
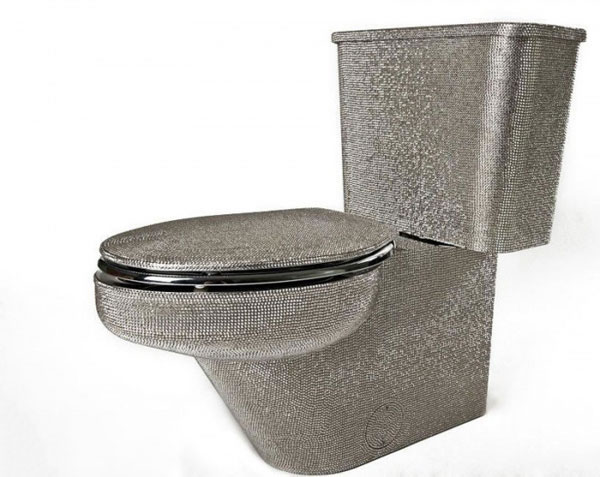
While you may not have a toilet covered in Swarovski crystals, you may feel like you do once it is clean. (For reference: yes this toilet exists, and it will cost you $25,000. It’s cheaper to spend your time scrubbing.) (Image via Fun Time News)
5. Take Out The Trash
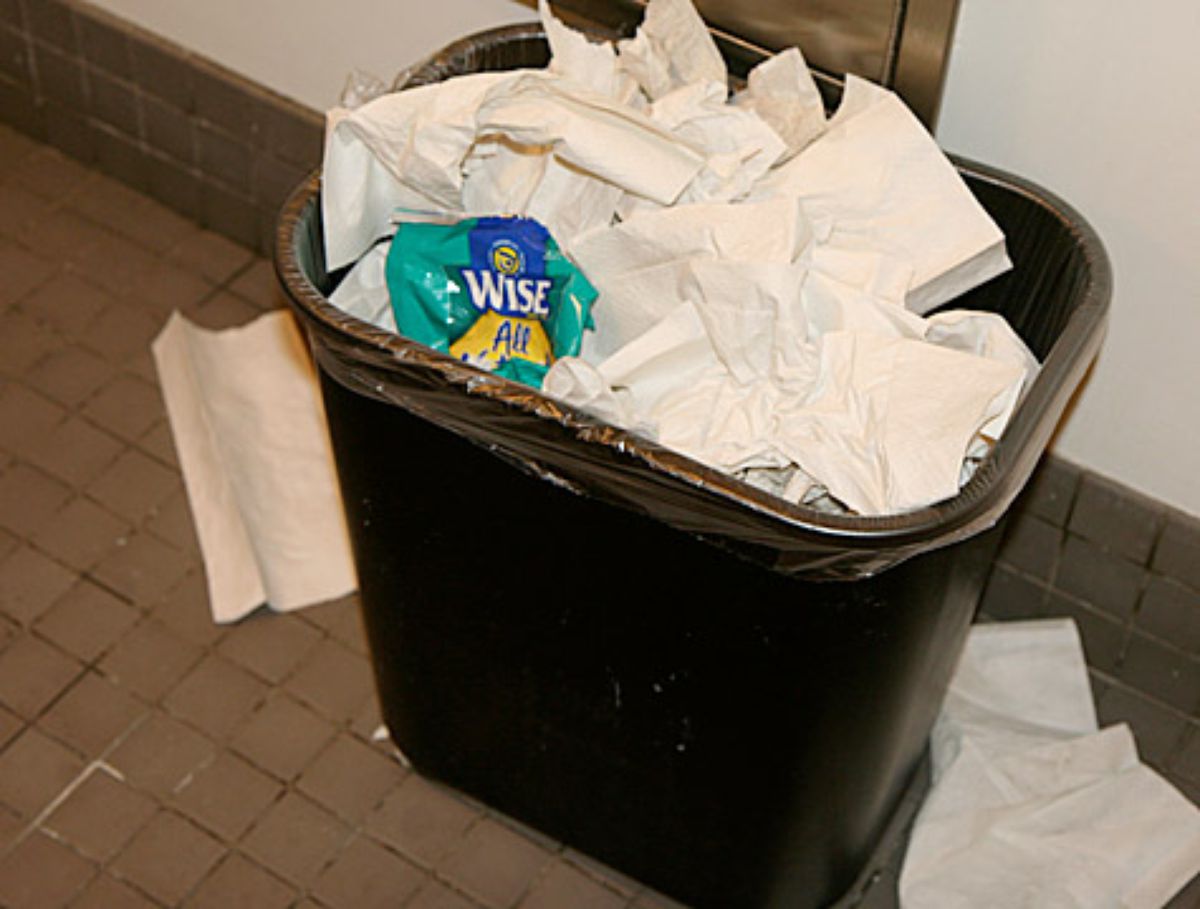
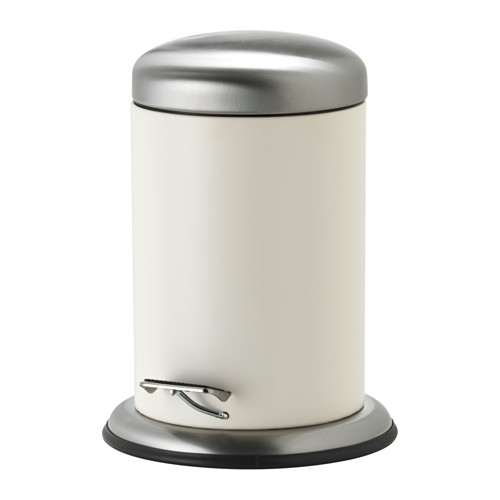
Full bathroom wastebaskets lead to cabinets filled with empty containers and packaging that should have been discarded. Frequent trash disposal keeps your bathroom tidier. Besides, an overflowing wastebasket is not a pretty sight ( I recommend a bathroom wastebasket with a lid).
A bin liner in the wastebasket makes taking out the trash an easy task. Another approach — take care of all your wastebaskets at one time: make the rounds of all wastebaskets with a paper or plastic bag in hand before making for the recycling or garbage bin. (Image via craftshubs.com)
6. Finish with the Floors
Dirty pre-shower feet, spilled cosmetics, men’s mis-aims and heaps of hair make for a definitely dirty bathroom floor. Keep the grime from getting grungy by giving your floors some love as you exit.
You can get creative with your bathroom floor cleaning: put biodegradable wipes or a cloth under your feet and swipe from side to side on your way out, a sticky clothes roller with tall handle can quickly remove hair and debris. With a little time, take a quick dance around your bathroom with your mop — you lead, it follows. Image via dawnchem.com)
7. Set a Schedule
Depending on your schedule and the size of your home, you may not have time for all these steps every day. But by making a schedule for yourself, and keeping track of what you’ve done each day, you can ensure that your bathroom gets a good cleaning every week. (Image via iStock)
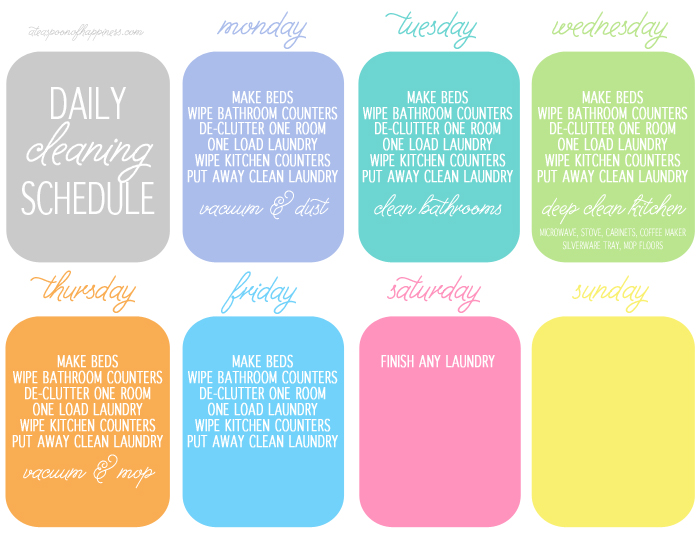
Never one for paper planners, I keep a large chalkboard in the kitchen to keep track of daily chores. If you’re a technophile, use your Google or Apple calendar. Chalk, pen or iPhone, pick your method to help remind you to keep even your tiniest room tidy. (Image via simplywhisked.com)